Inspired by HGTV and TikTok, two roommates test their luck at flipping furniture on Facebook Marketplace. Follow along as Lila and Addi tackle the best Central Iowa has to offer.
Flip #4
The fourth flip started off on an interesting note. Tied up in the craziness of the week before Thanksgiving, Lila and I were unable to start our fourth flip together. After days of scouring Pinterest for an aha-moment idea of what to do with our bread box, we were still stumped. Per usual, we figured we’d come up with something soon enough.
Well, the “soon enough” came more abruptly than we thought. As Lila was carrying the box to her car to take home, it took a tumble. The sides busted apart. I, Addi, received a text of the slightly mangled cabinet in the back of her car. Luckily the individual pieces were strong enough to suffer the trauma and remain in a repairable state.
The bread box survived, and the fall was the nudge we needed to get working.
Pre-Work
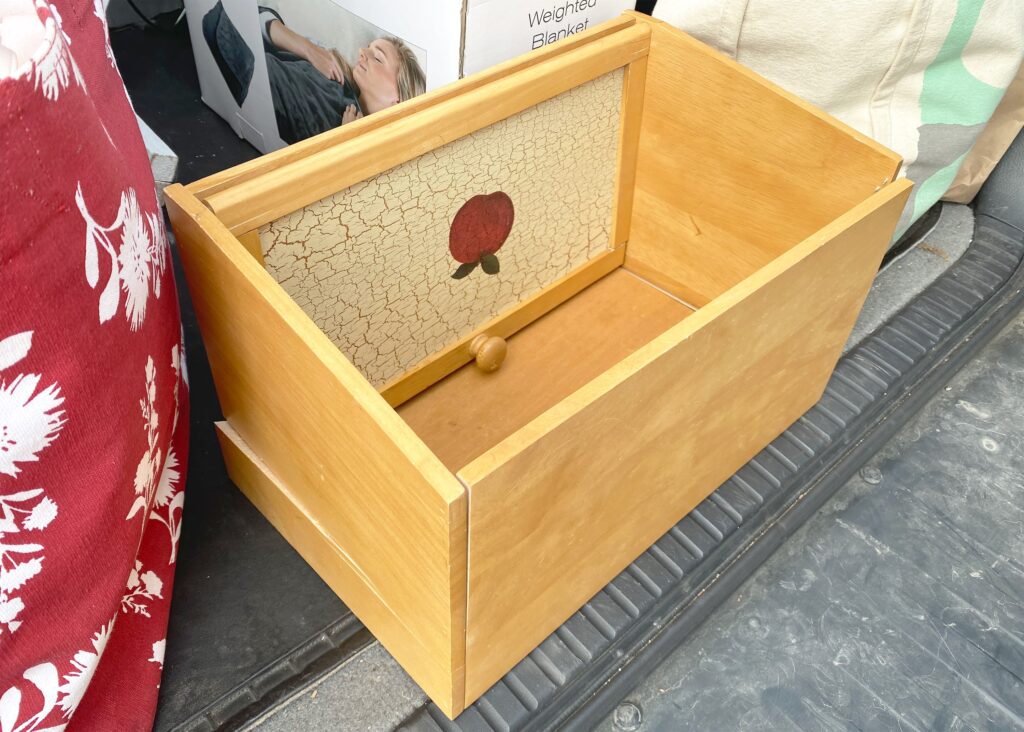
Handfuls of ideas were thrown out for the front of the bread box. All we knew was that the apple had to go. Chicken wire, stencil patterns, and simply writing ‘bread’ in script were considered. Once the project was in action, the vision switched to painting the box white with the front covered in black chalkboard paint.
To accomplish this project, we used the following:
Supplies list
- Mouse Sander
- Sanding Attachment- 80 grit, 150 grit
- 80 Grit SandPaper
- Semi-Gloss White Latex Paint
- 2’ Paint Brush
- Black Chalkboard Paint
- Newspaper
- Smooth Finish Spray Lacquer
- Brad Nails
- Wood Glue
- Clamps
- Chalk
DIY
In a way, the dismantling of the box helped move the process along. A few finishing nails were sticking out, so Lila cut them down with wire cutters. Pro tip: It would have been better to hammer out the nails rather than cut them.
Then, it was time to sand. 80 grit sandpaper was used first, followed by 80 grit on an oscillating mouse sander attachment. Nails that were still sticking out too far ripped up the sandpaper, so Lila had to go back and file them down with a metal file.
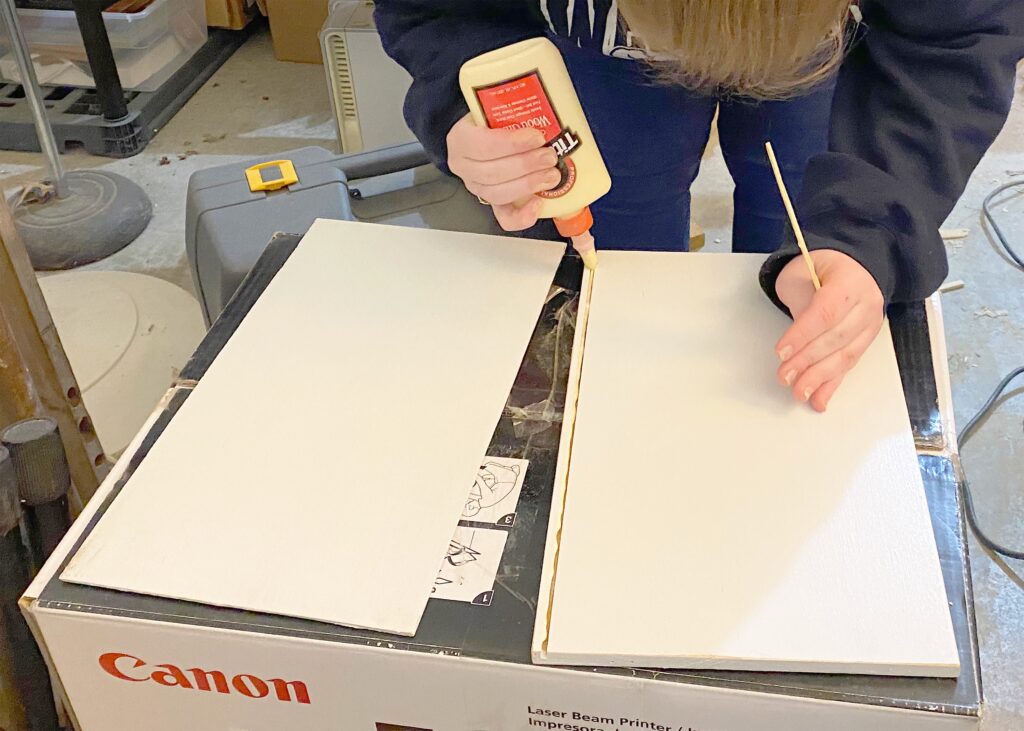
Following the 80 grit, 120 grit sandpaper was used to give an even smoother finish to the pieces. As the sanding commenced, the pieces that had split in the fall were glued back together. Surprisingly, the repair went flawlessly. I was skeptical, but if I hadn’t known the pieces had split, I wouldn’t suspect a thing.

While I couldn’t be with Lila through the flip, our special guest from the second flip stepped in. Brad, Lila’s dad, helped document the process, taking pictures, filming each step, and adding his two cents along the way. Plus, his fancy tools, like the oscillating sander attachment, came in handy.
Shuffling through the variety of leftover paint in her garage, Lila found a can of white. Two coats per side were required for full coverage. Painting was an all-day process. Lila split her time between keeping her hands warm and checking on the pieces until they were fully dry.
Pro tip: Be aware of temperature when painting. Climates that are warmer or cooler than recommended can affect drying time.

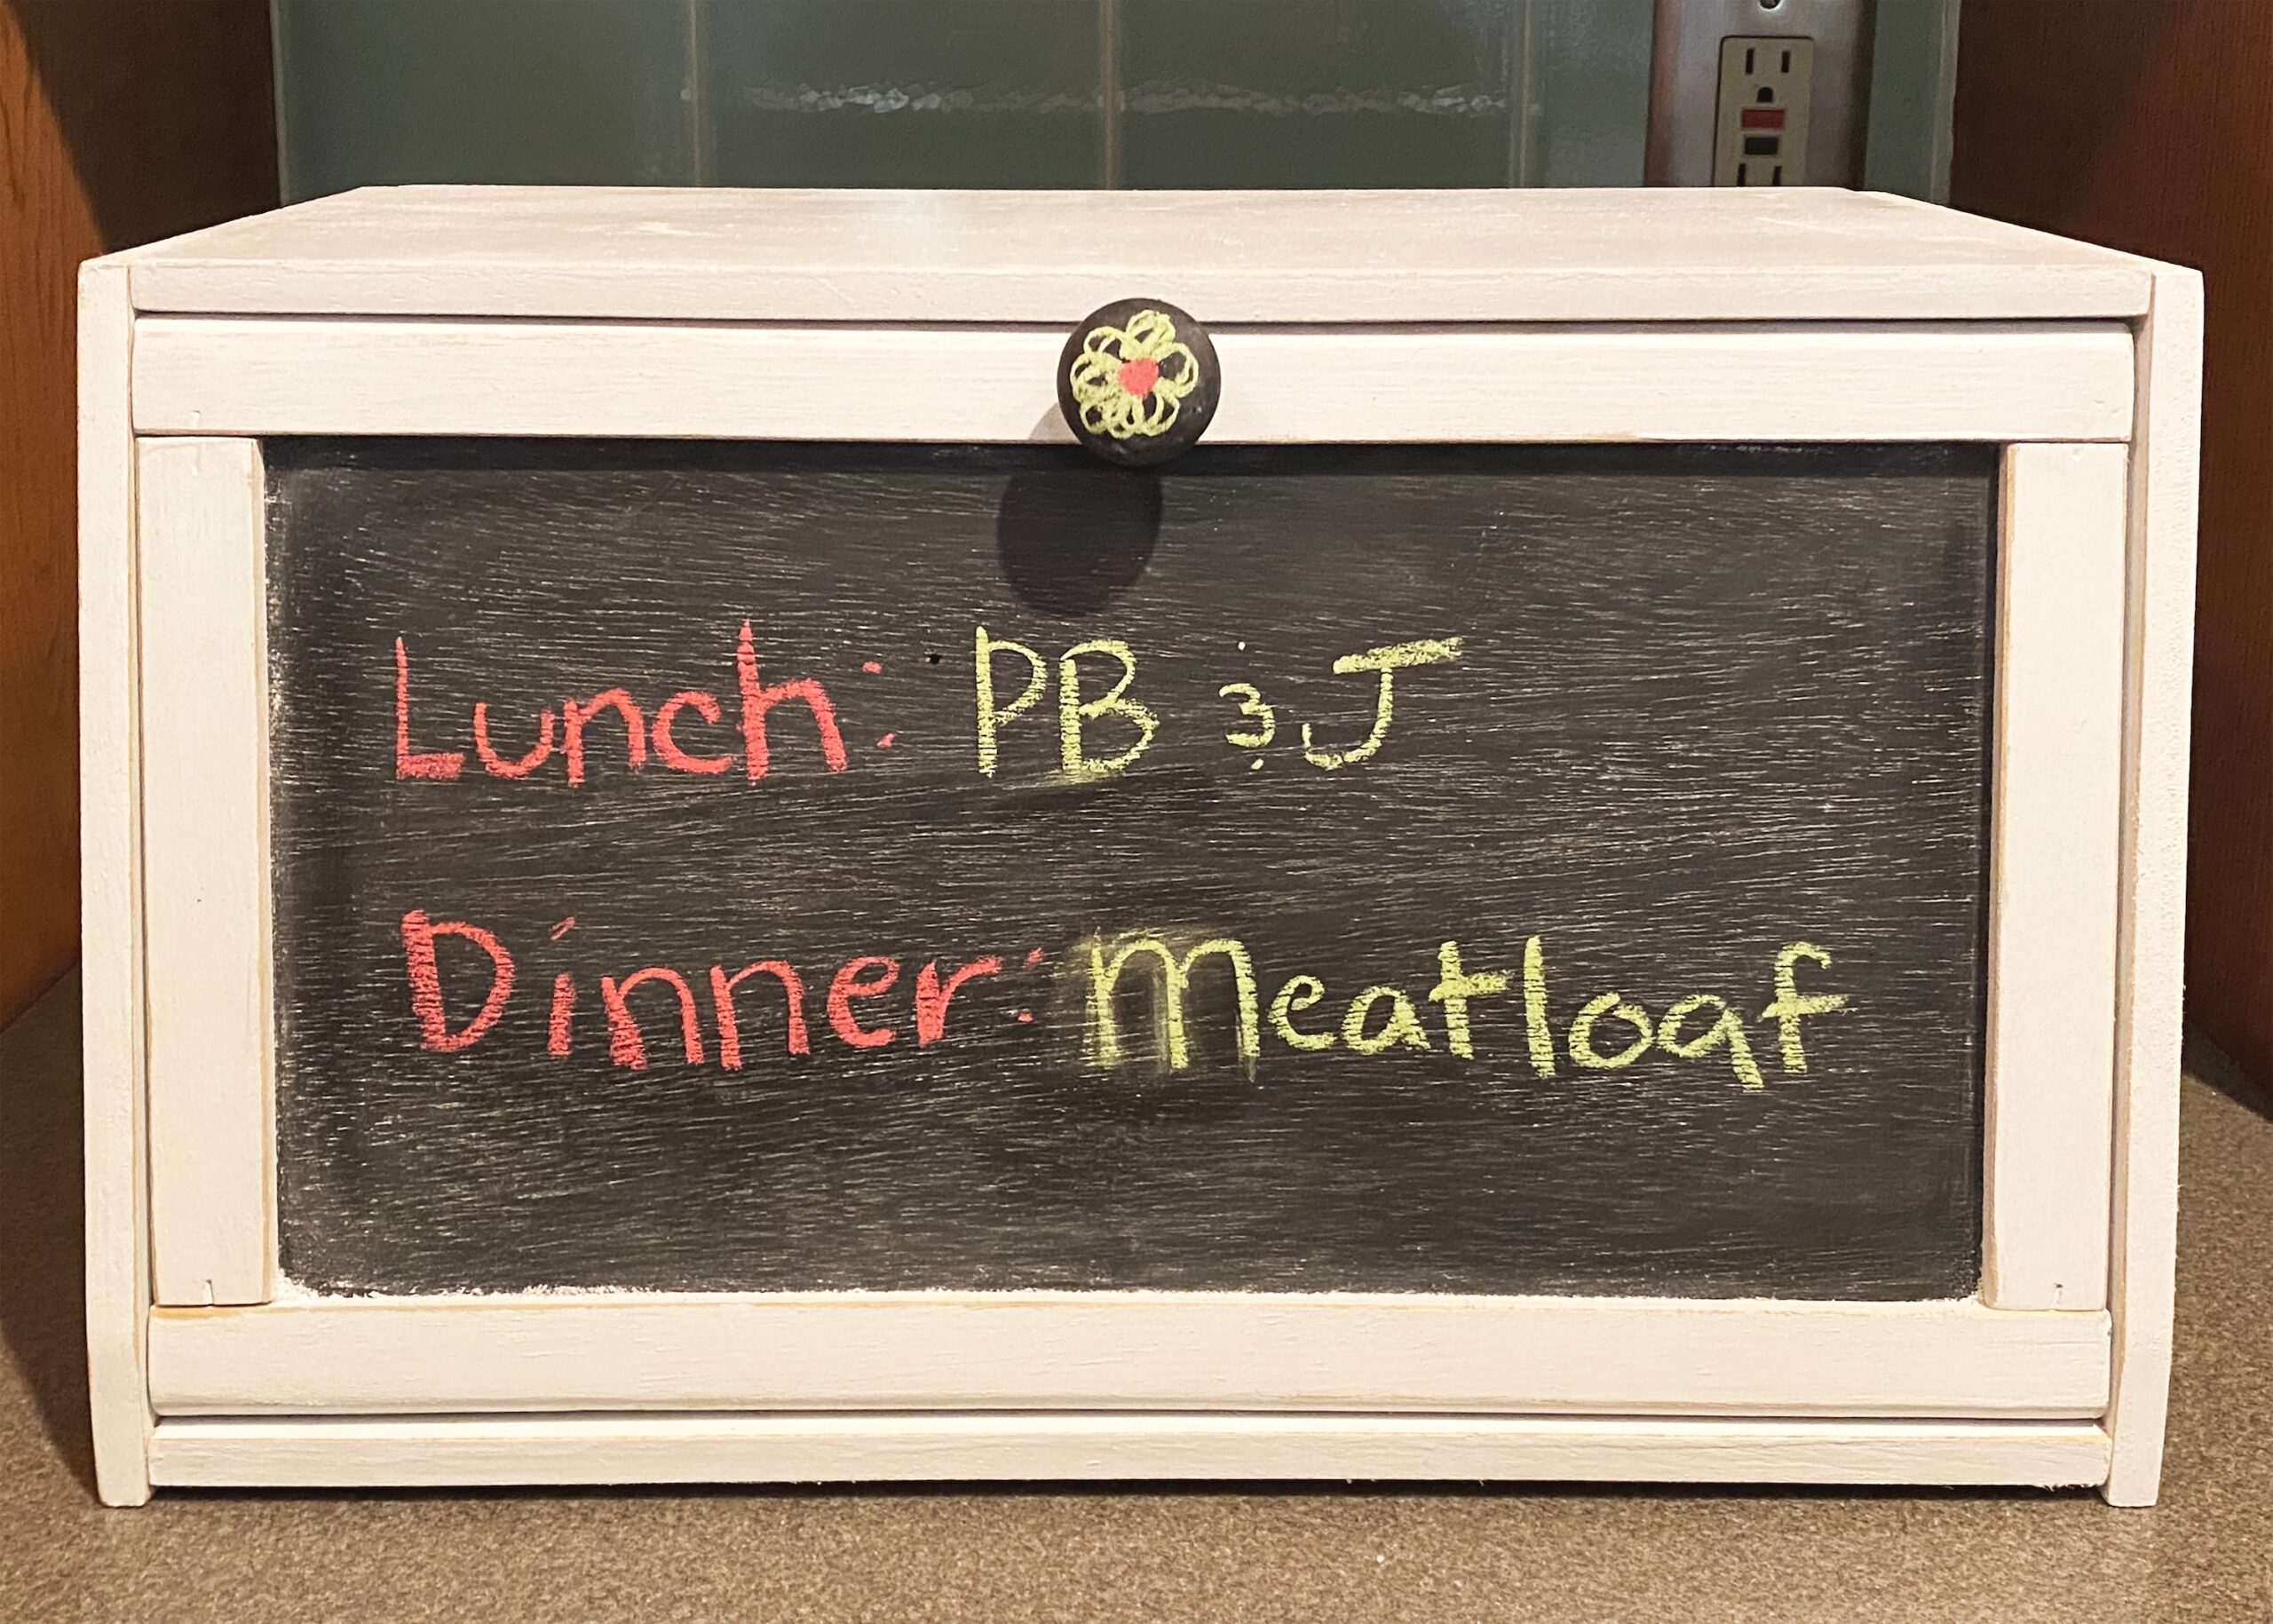
With the paint dry, it was finally time to tackle the front door that had given us creative trouble for days. Lila settled on using chalkboard paint. I agreed this was a good compromise between all the options we considered.
The bottle didn’t say how much to use, so four coats seemed adequate to start with. Since this piece had been saved for last, after chalkboard spray painting the front, Lila painted the back white. In the process, a few specks of white ended up on the front. The quick fix was just adding a fifth round of chalkboard spray paint to ensure the front was clean.
By this point, Lila mentioned that she wished she had sanded just a little more. Without knowing the front would turn into a writing surface, there were a few remaining bumps. However, the texture gives the chalkboard character.
The paint box in the garage provided yet again. Lila found a lacquer finish for wood that was perfect. Before applying the lacquer, she decided to add a farmhouse sanding finish to the white pieces. To achieve this, she used 80 grit sandpaper. Then, one coat of the lacquer was applied to each side of each piece. With a drying time of nearly 90 minutes, it tested Lila’s patience.
Eventually, the waiting came to an end. It was time to reassemble the box, using both wood glue and nails to give the box more durability than before.
Selling
Thankfully, this project mostly required supplies we already had available to us. All we had to buy were chalkboard spray paint and nails. While the first two flips have sold, our lamp and tray from the third flip are still on the market. Unrelated to our flips, we recently came into possession of two tray tables. Using our Facebook Marketplace knowledge, we each profited $25 off those, which helped reimburse our flipping costs.
Now that we know what the people of Facebook Marketplace are looking for, we feel more adept to list our flips for fair prices. The bread box has been listed for $35.


Has it sold?
We listed the bread box on Facebook Marketplace Nov. 28. It has not sold yet.
What’s next?
We’ll be sharing our best Facebook Marketplace advice in our final flipping story. Check out our previous DIY projects on TikTok at @urbanplains.